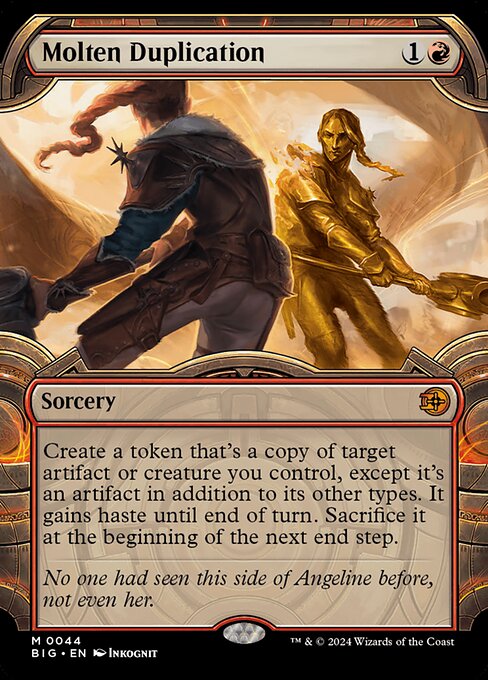
BIG 44 · mythic
Molten Duplication
Sorcery · The Big Score
R{1}{R}Mana value 2
Illustrated by Inkognit · Image via Scryfall
View cardSearch physical English printings by name, collector number, set, rules text, colour, type and rarity. All card reference data and images are public.
Sorcery · The Big Score
Illustrated by Inkognit · Image via Scryfall
View card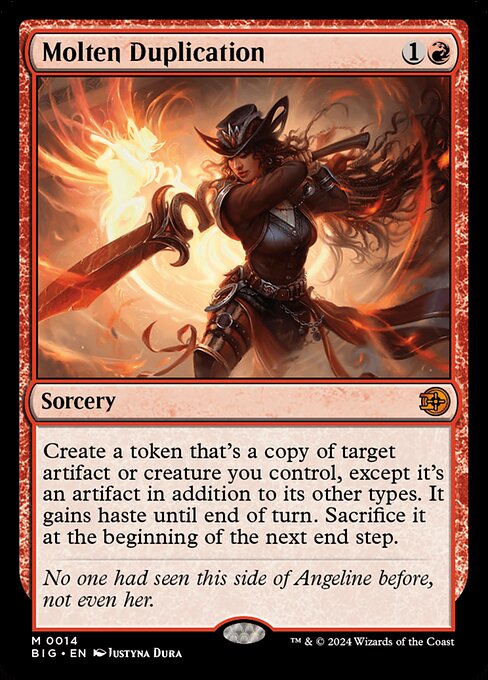
Sorcery · The Big Score
Illustrated by Justyna Dura · Image via Scryfall
View card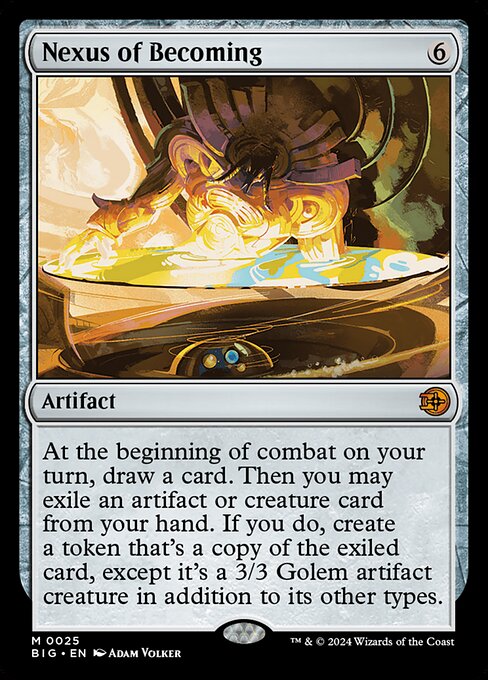
Artifact · The Big Score
Illustrated by Adam Volker · Image via Scryfall
View card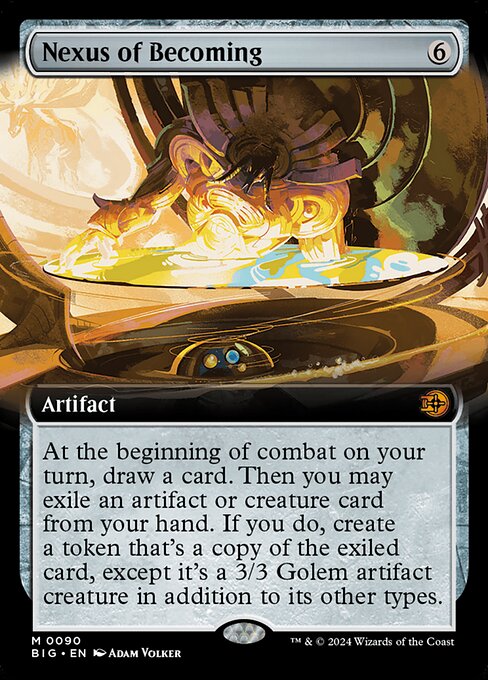
Artifact · The Big Score
Illustrated by Adam Volker · Image via Scryfall
View card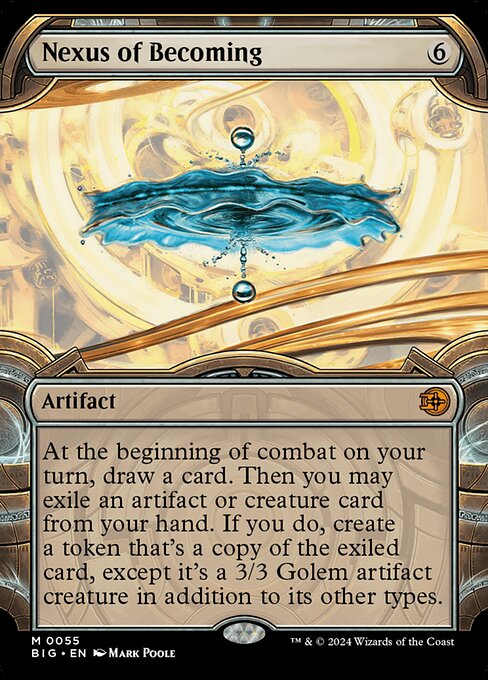
Artifact · The Big Score
Illustrated by Mark Poole · Image via Scryfall
View card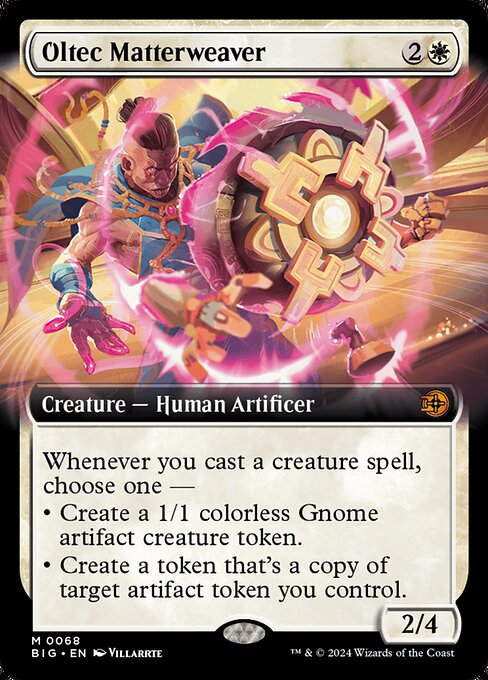
Creature — Human Artificer · The Big Score
Illustrated by Villarrte · Image via Scryfall
View card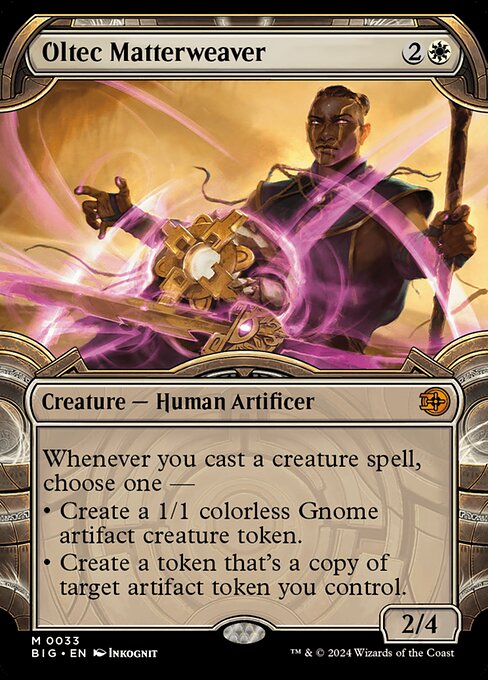
Creature — Human Artificer · The Big Score
Illustrated by Inkognit · Image via Scryfall
View card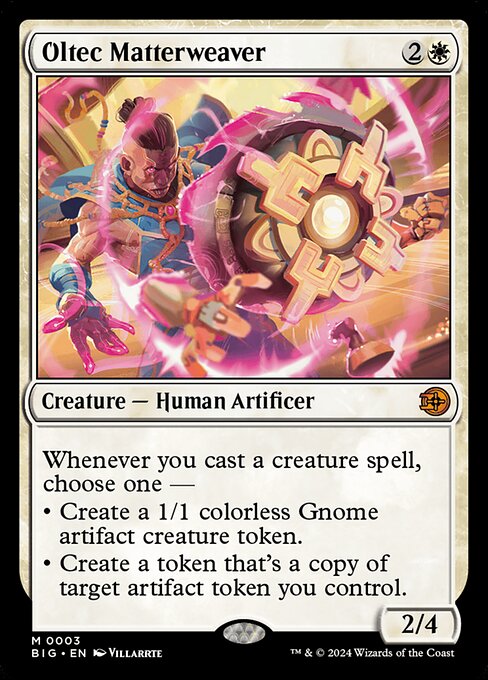
Creature — Human Artificer · The Big Score
Illustrated by Villarrte · Image via Scryfall
View card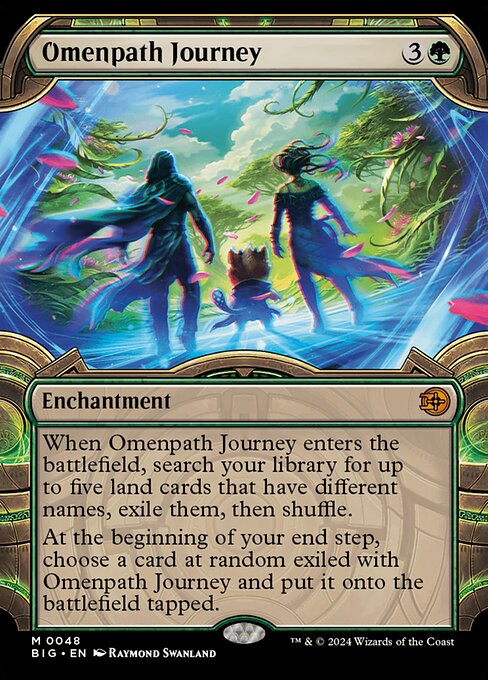
Enchantment · The Big Score
Illustrated by Raymond Swanland · Image via Scryfall
View card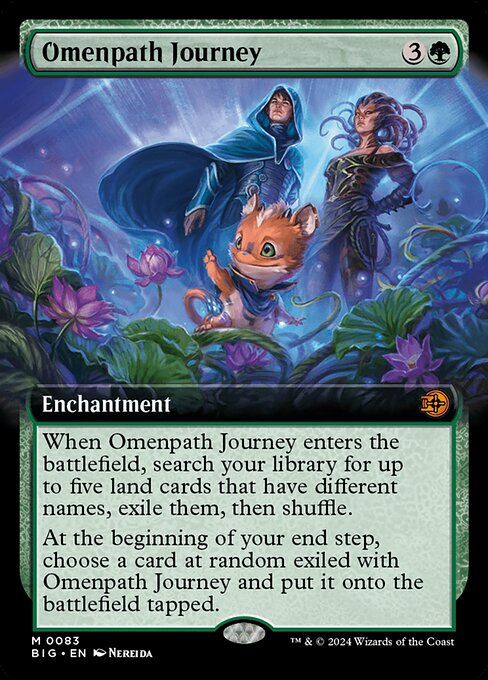
Enchantment · The Big Score
Illustrated by Nereida · Image via Scryfall
View card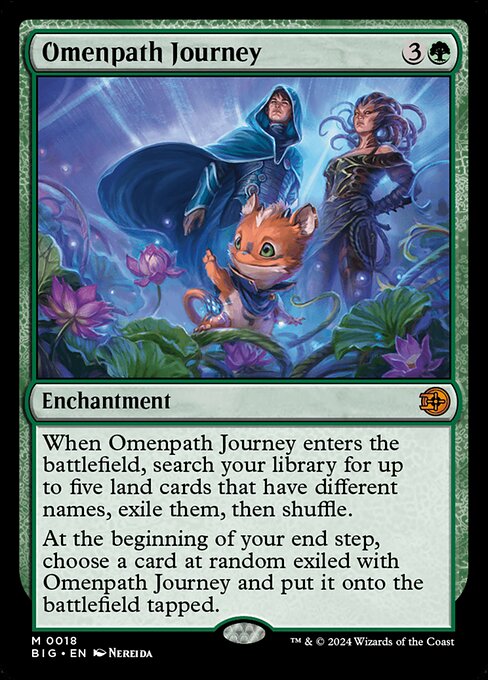
Enchantment · The Big Score
Illustrated by Nereida · Image via Scryfall
View card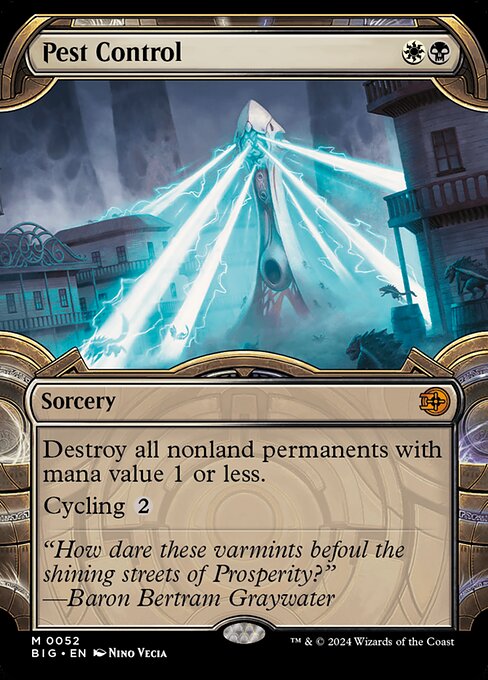
Sorcery · The Big Score
Illustrated by Nino Vecia · Image via Scryfall
View card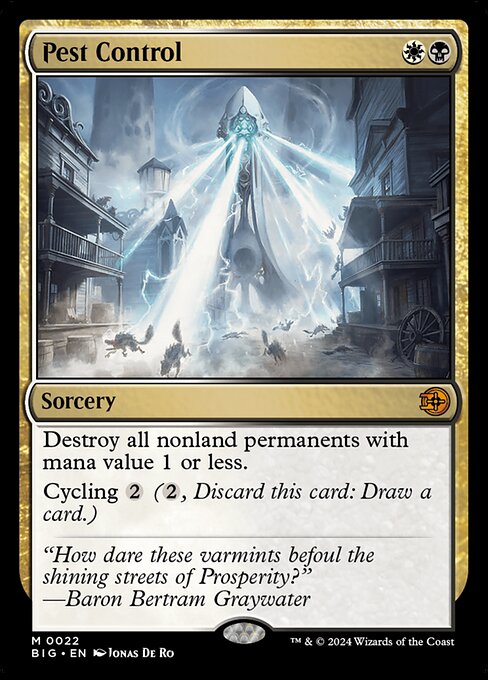
Sorcery · The Big Score
Illustrated by Jonas De Ro · Image via Scryfall
View card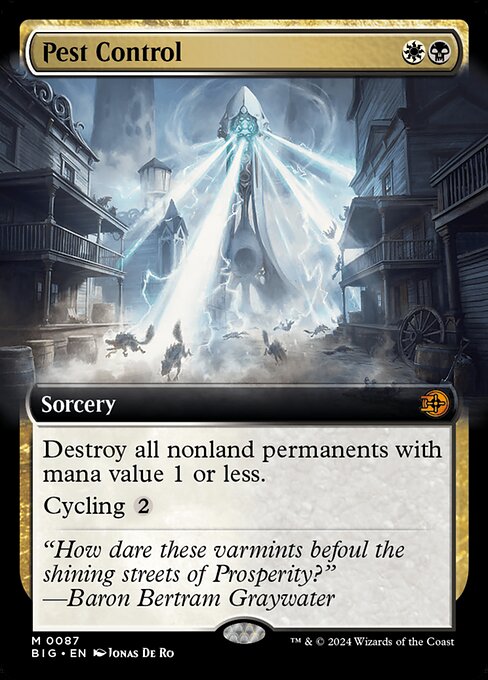
Sorcery · The Big Score
Illustrated by Jonas De Ro · Image via Scryfall
View card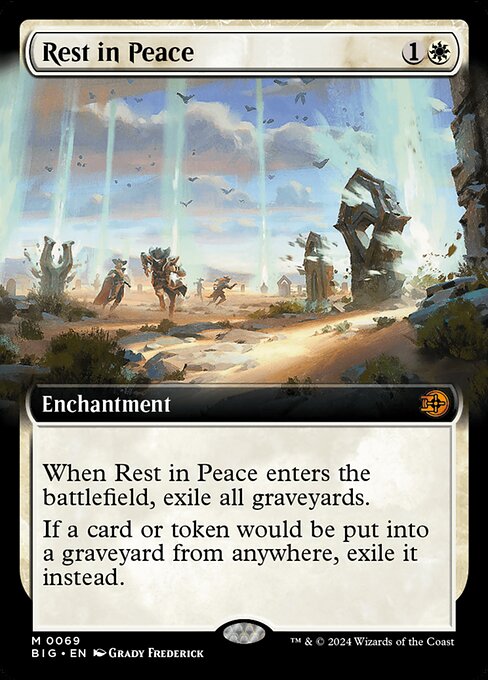
Enchantment · The Big Score
Illustrated by Grady Frederick · Image via Scryfall
View card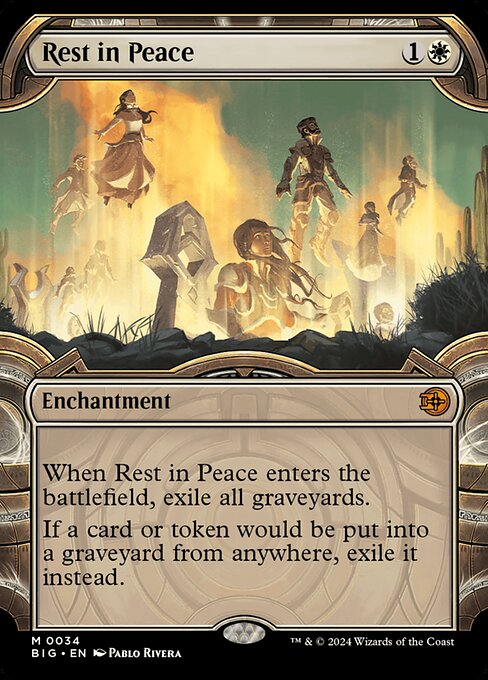
Enchantment · The Big Score
Illustrated by Pablo Rivera · Image via Scryfall
View card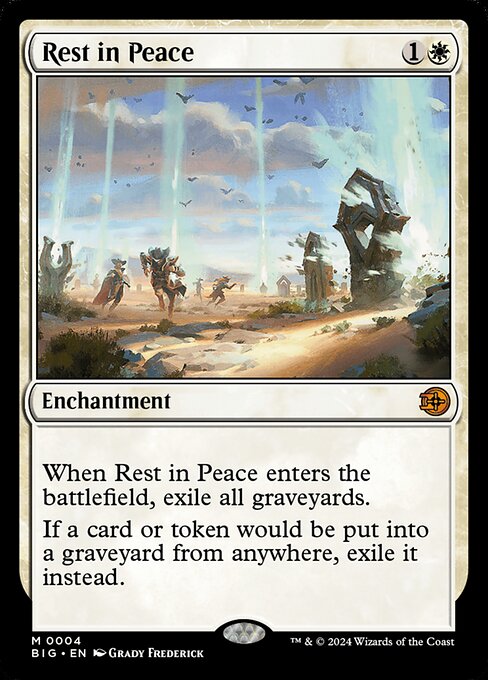
Enchantment · The Big Score
Illustrated by Grady Frederick · Image via Scryfall
View card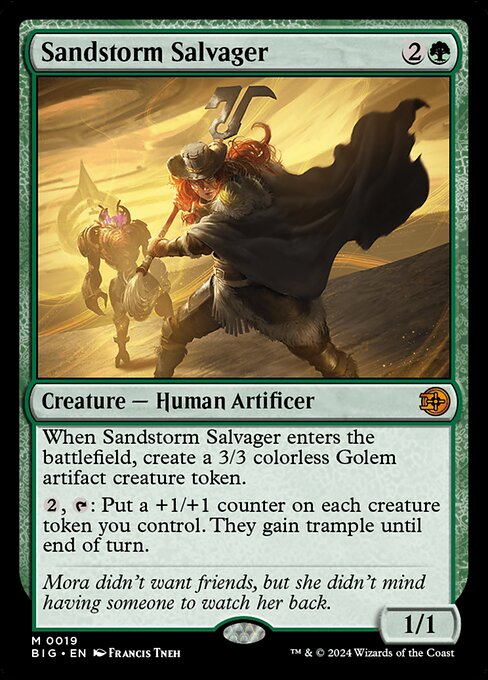
Creature — Human Artificer · The Big Score
Illustrated by Francis Tneh · Image via Scryfall
View card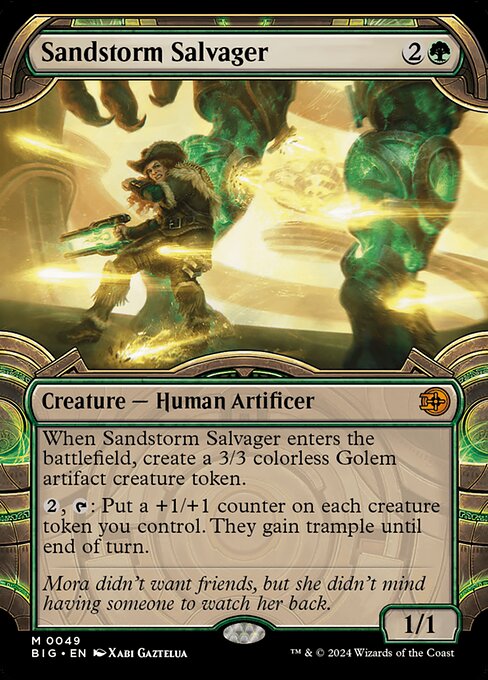
Creature — Human Artificer · The Big Score
Illustrated by Xabi Gaztelua · Image via Scryfall
View card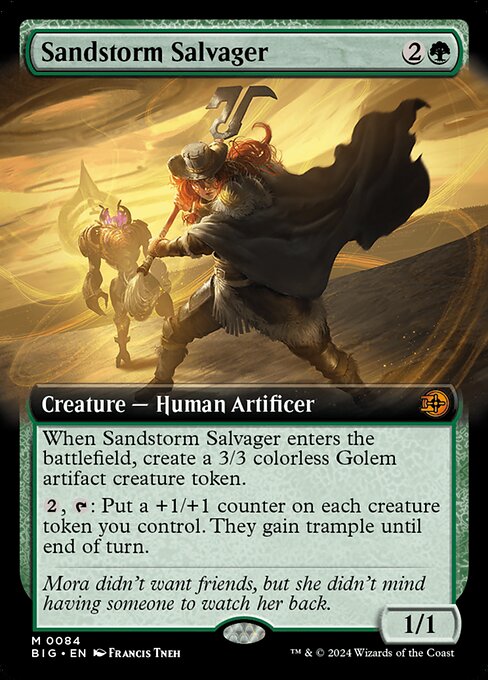
Creature — Human Artificer · The Big Score
Illustrated by Francis Tneh · Image via Scryfall
View card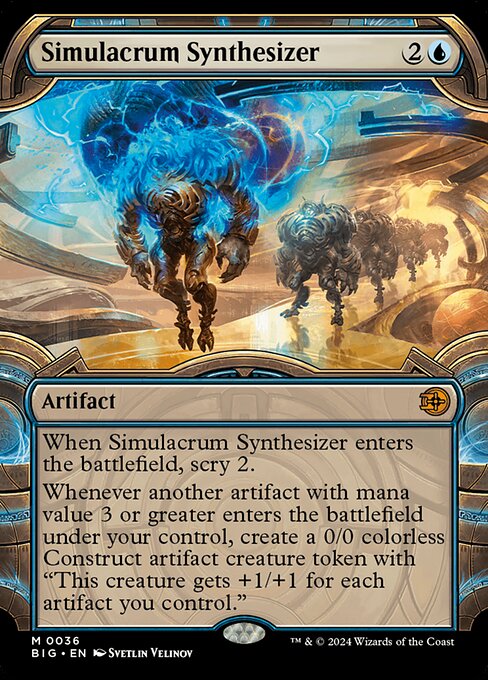
Artifact · The Big Score
Illustrated by Svetlin Velinov · Image via Scryfall
View card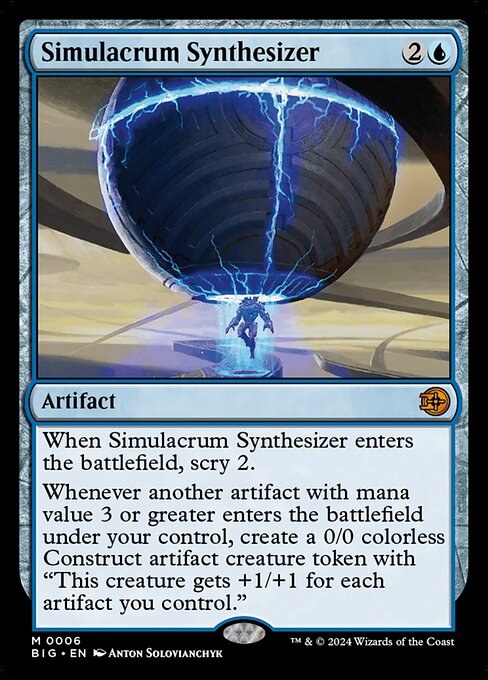
Artifact · The Big Score
Illustrated by Anton Solovianchyk · Image via Scryfall
View card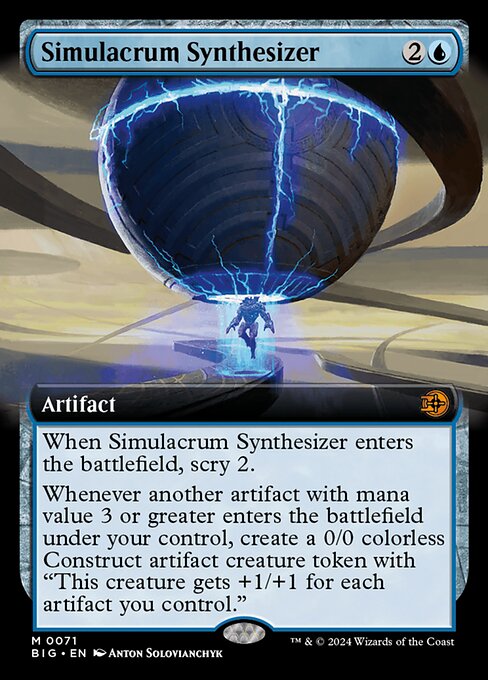
Artifact · The Big Score
Illustrated by Anton Solovianchyk · Image via Scryfall
View card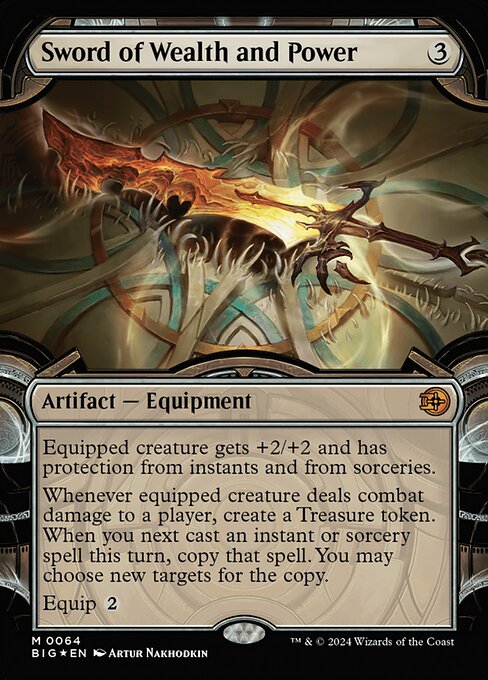
Artifact — Equipment · The Big Score
Illustrated by Artur Nakhodkin · Image via Scryfall
View card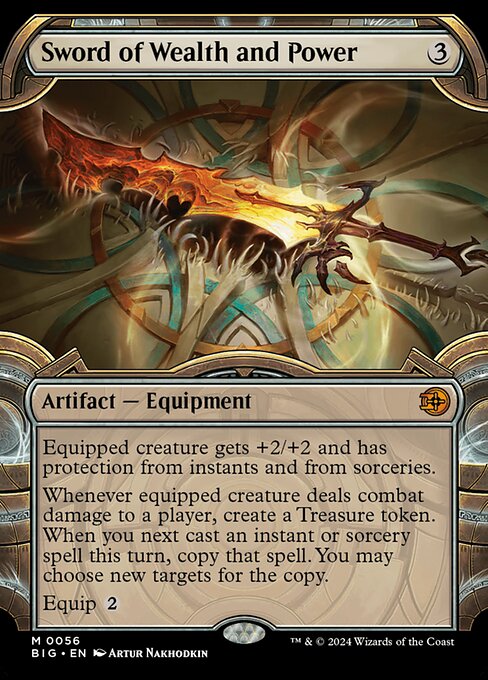
Artifact — Equipment · The Big Score
Illustrated by Artur Nakhodkin · Image via Scryfall
View card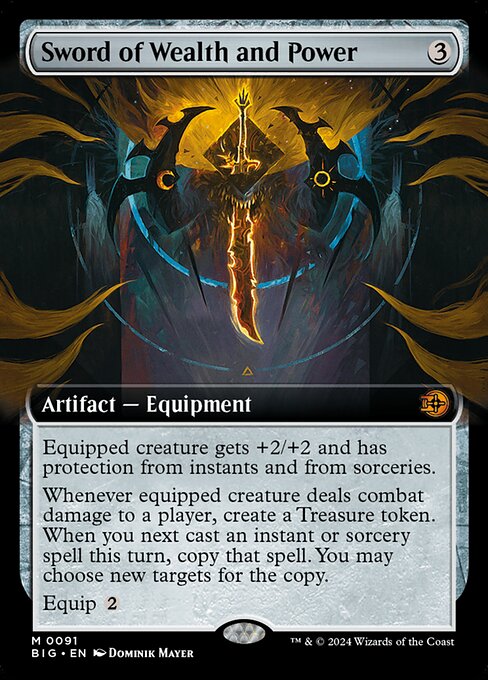
Artifact — Equipment · The Big Score
Illustrated by Dominik Mayer · Image via Scryfall
View card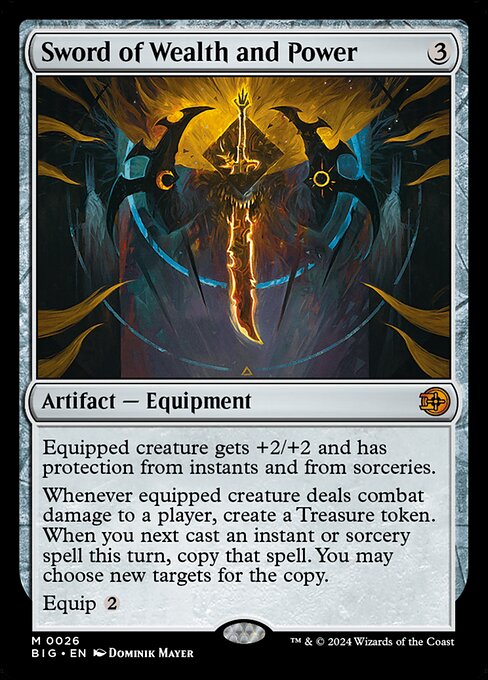
Artifact — Equipment · The Big Score
Illustrated by Dominik Mayer · Image via Scryfall
View card
Land · The Big Score
Illustrated by Alayna Danner · Image via Scryfall
View card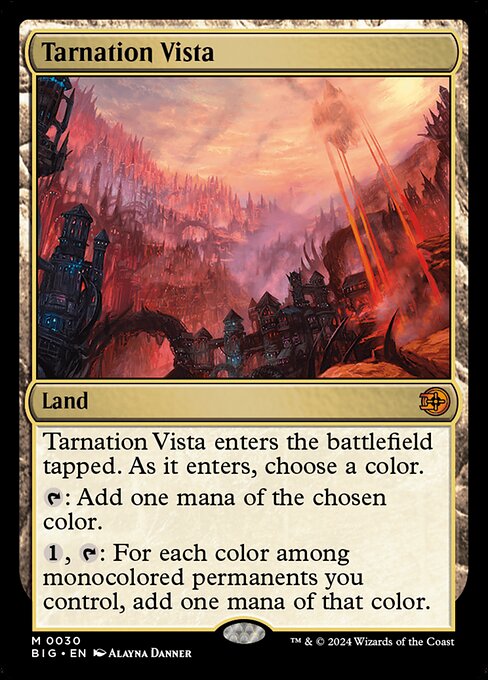
Land · The Big Score
Illustrated by Alayna Danner · Image via Scryfall
View card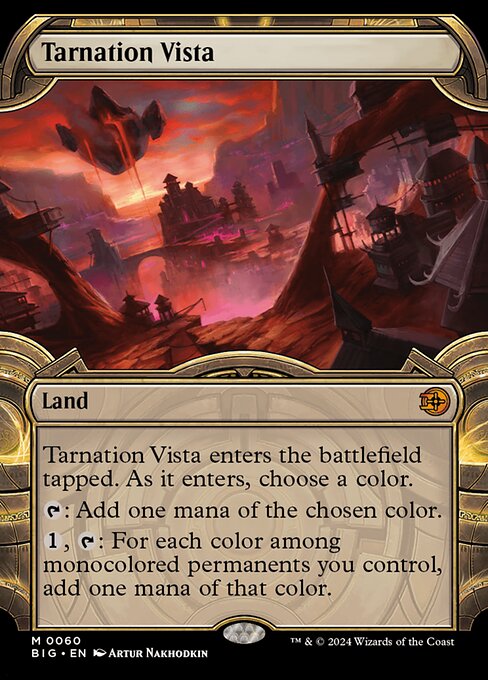
Land · The Big Score
Illustrated by Artur Nakhodkin · Image via Scryfall
View card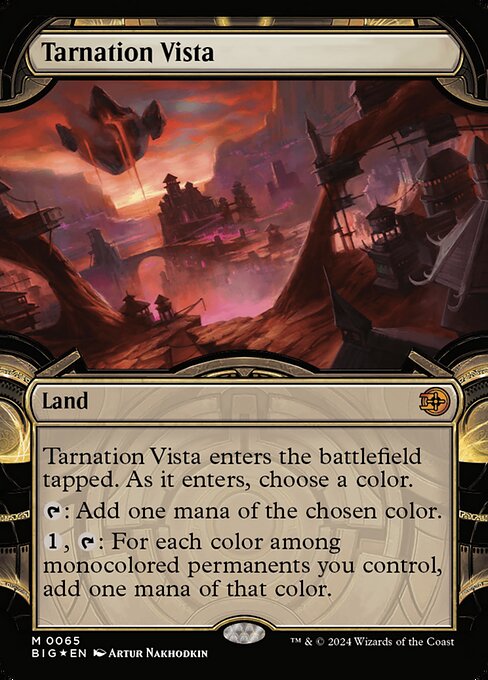
Land · The Big Score
Illustrated by Artur Nakhodkin · Image via Scryfall
View card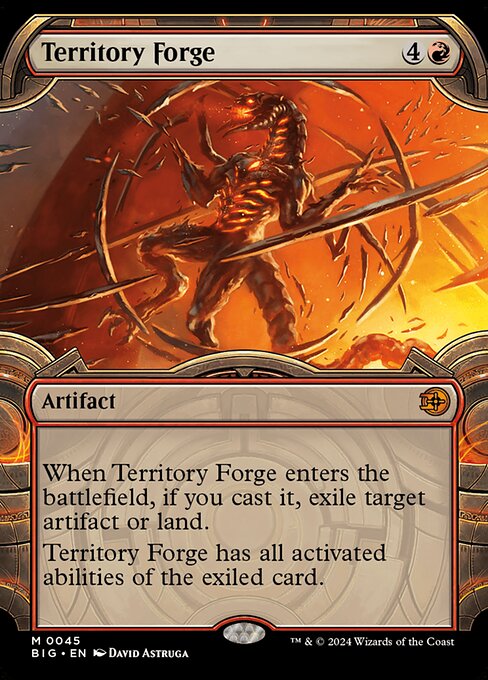
Artifact · The Big Score
Illustrated by David Astruga · Image via Scryfall
View card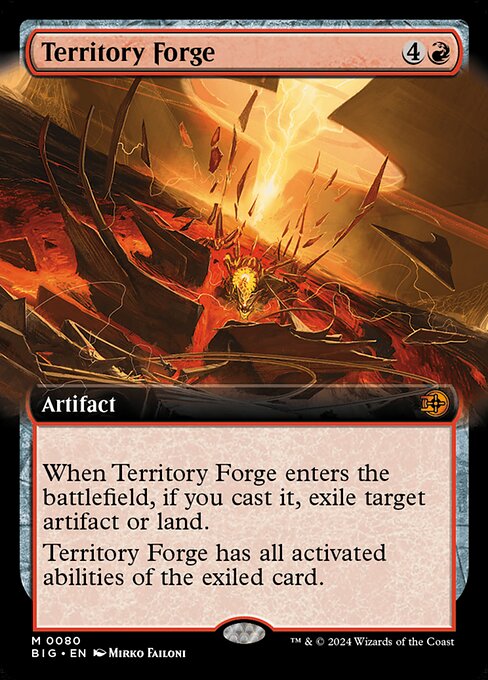
Artifact · The Big Score
Illustrated by Mirko Failoni · Image via Scryfall
View card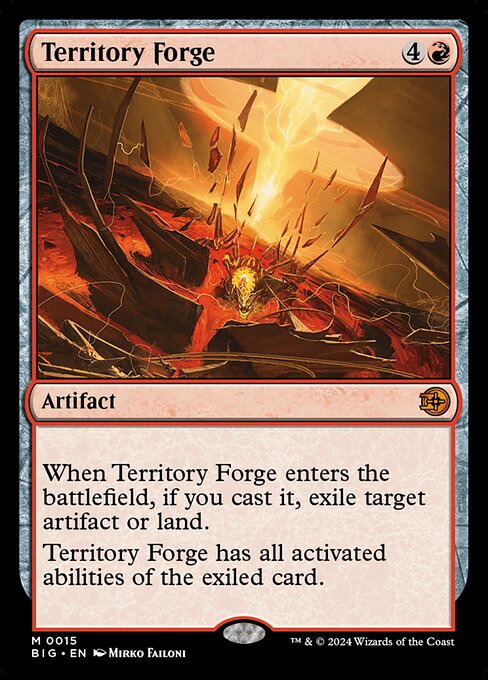
Artifact · The Big Score
Illustrated by Mirko Failoni · Image via Scryfall
View card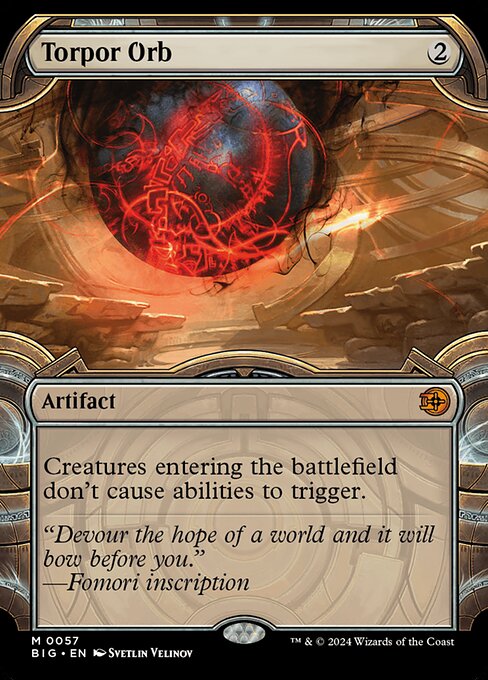
Artifact · The Big Score
Illustrated by Svetlin Velinov · Image via Scryfall
View card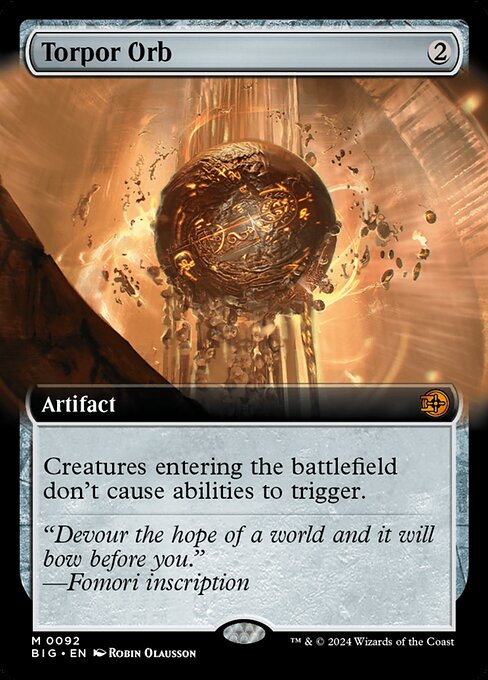
Artifact · The Big Score
Illustrated by Robin Olausson · Image via Scryfall
View card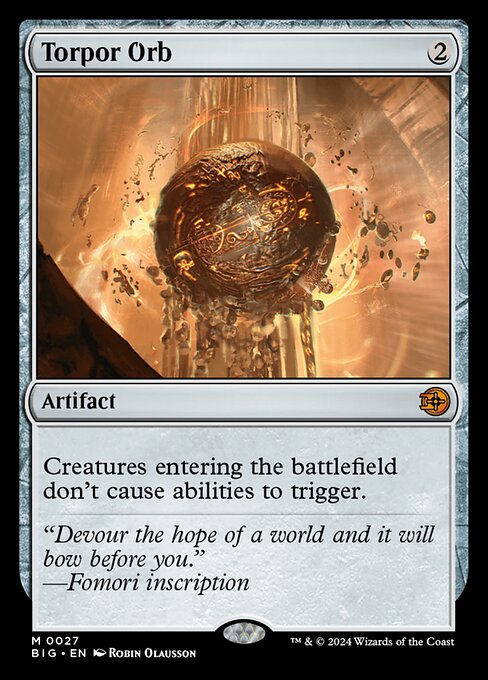
Artifact · The Big Score
Illustrated by Robin Olausson · Image via Scryfall
View card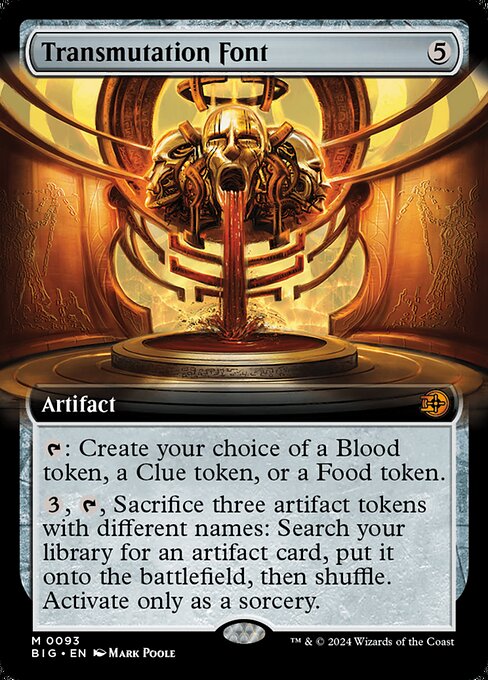
Artifact · The Big Score
Illustrated by Mark Poole · Image via Scryfall
View card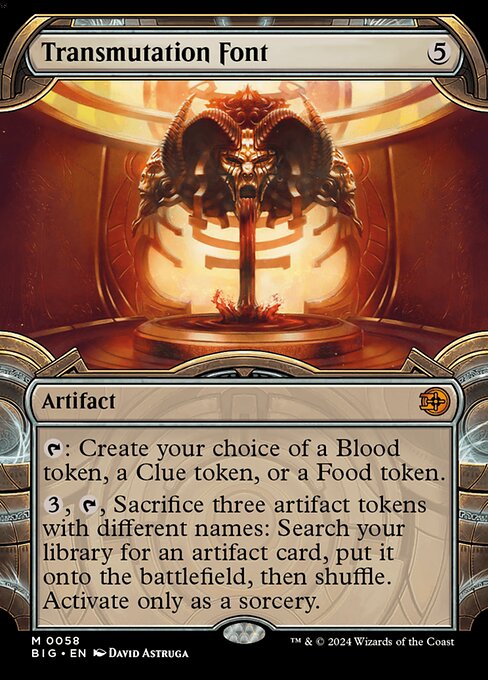
Artifact · The Big Score
Illustrated by David Astruga · Image via Scryfall
View card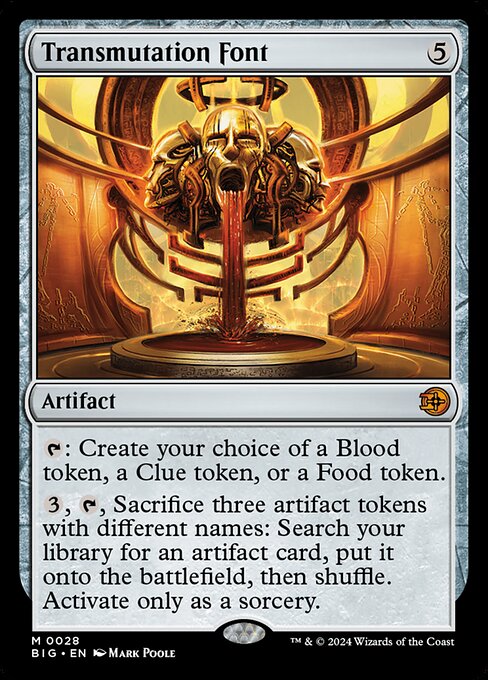
Artifact · The Big Score
Illustrated by Mark Poole · Image via Scryfall
View card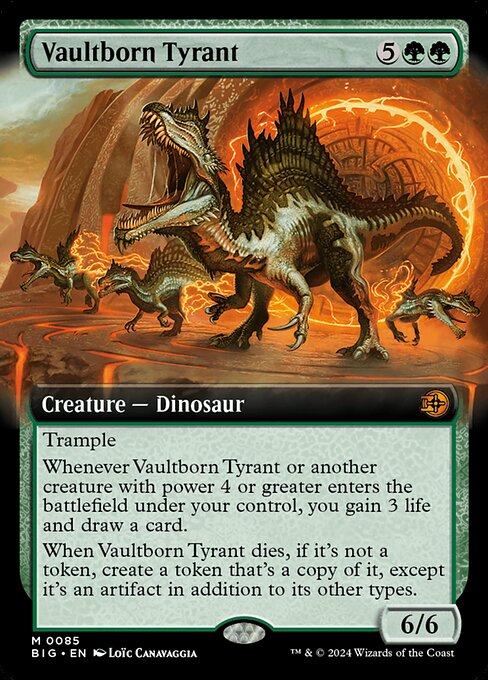
Creature — Dinosaur · The Big Score
Illustrated by Loïc Canavaggia · Image via Scryfall
View card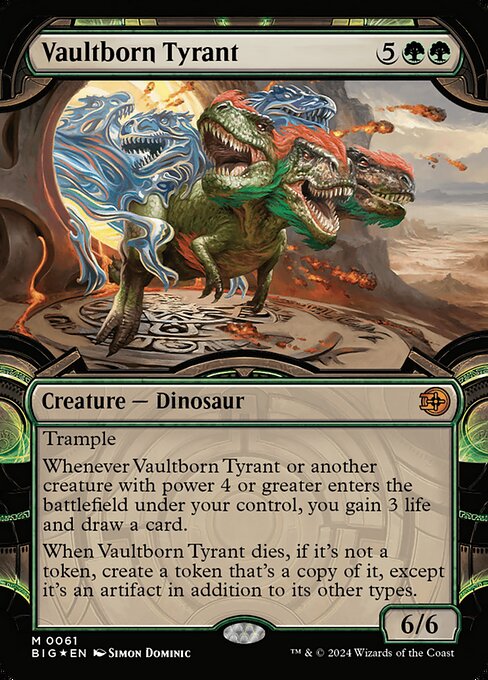
Creature — Dinosaur · The Big Score
Illustrated by Simon Dominic · Image via Scryfall
View card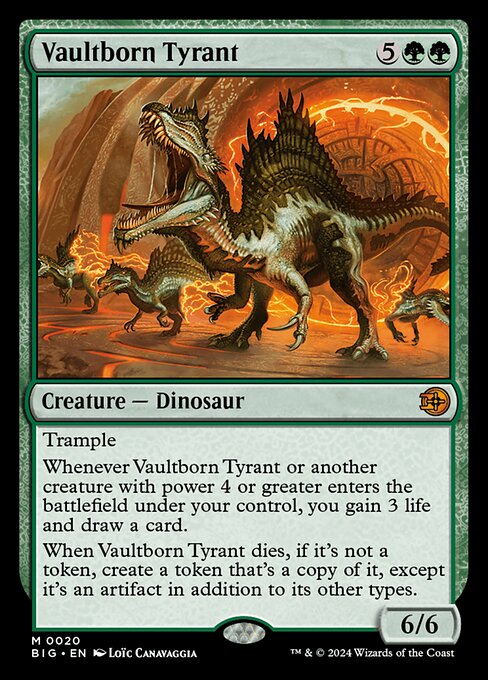
Creature — Dinosaur · The Big Score
Illustrated by Loïc Canavaggia · Image via Scryfall
View card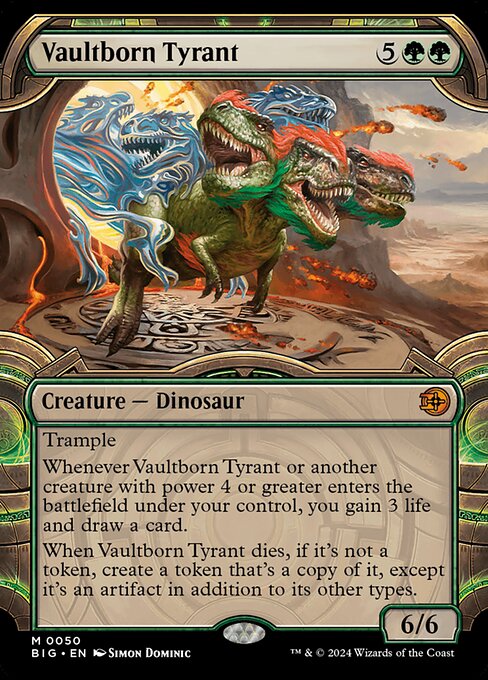
Creature — Dinosaur · The Big Score
Illustrated by Simon Dominic · Image via Scryfall
View card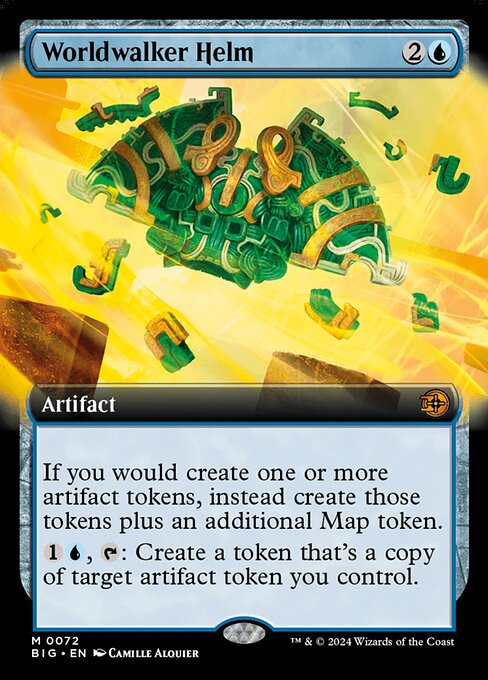
Artifact · The Big Score
Illustrated by Camille Alquier · Image via Scryfall
View card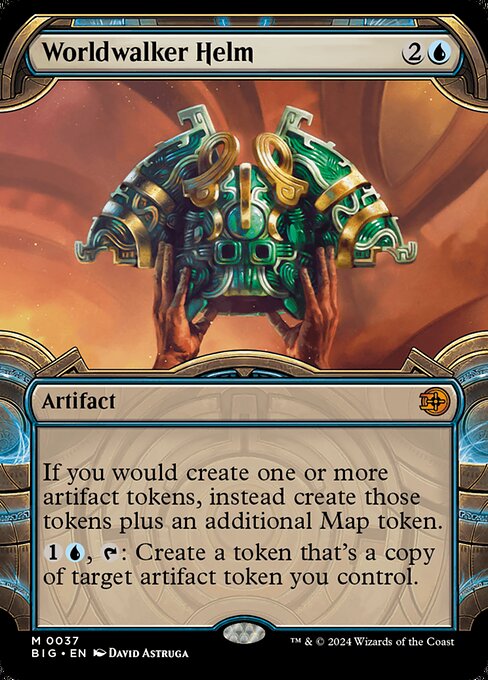
Artifact · The Big Score
Illustrated by David Astruga · Image via Scryfall
View card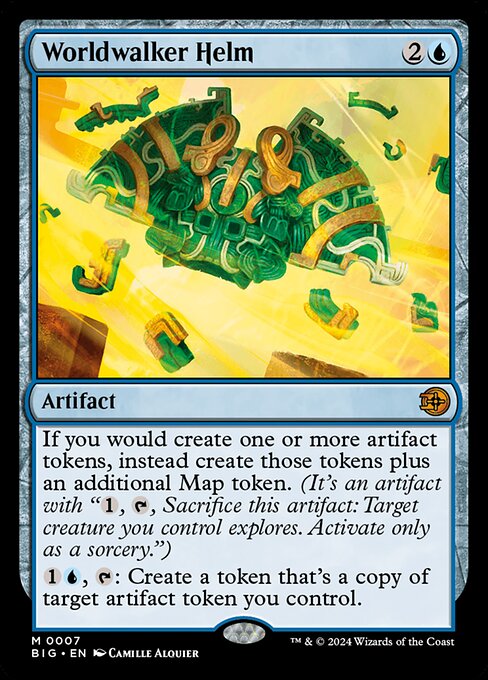
Artifact · The Big Score
Illustrated by Camille Alquier · Image via Scryfall
View card